Step 1 – Navigate to Operations Section #
To Create a new Machine or Edit an existing Machine, navigate to the Machine section which can be found within the Operations section of the Main Menu on the left-hand side, represented by a Hard Hat icon as shown in gold below:
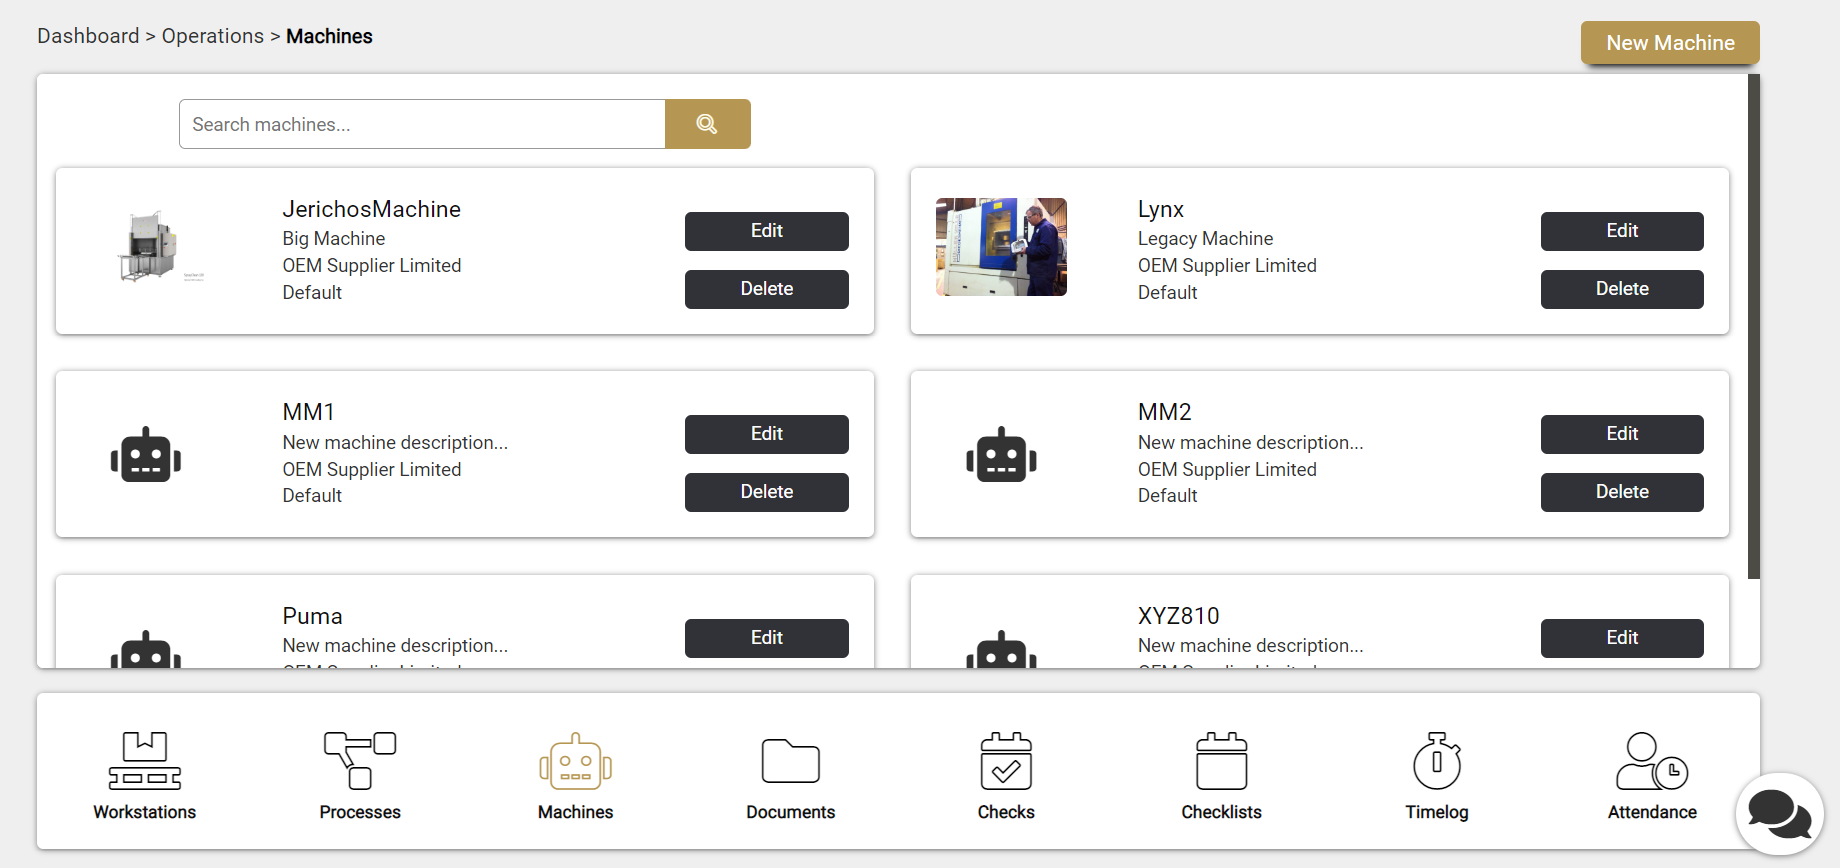
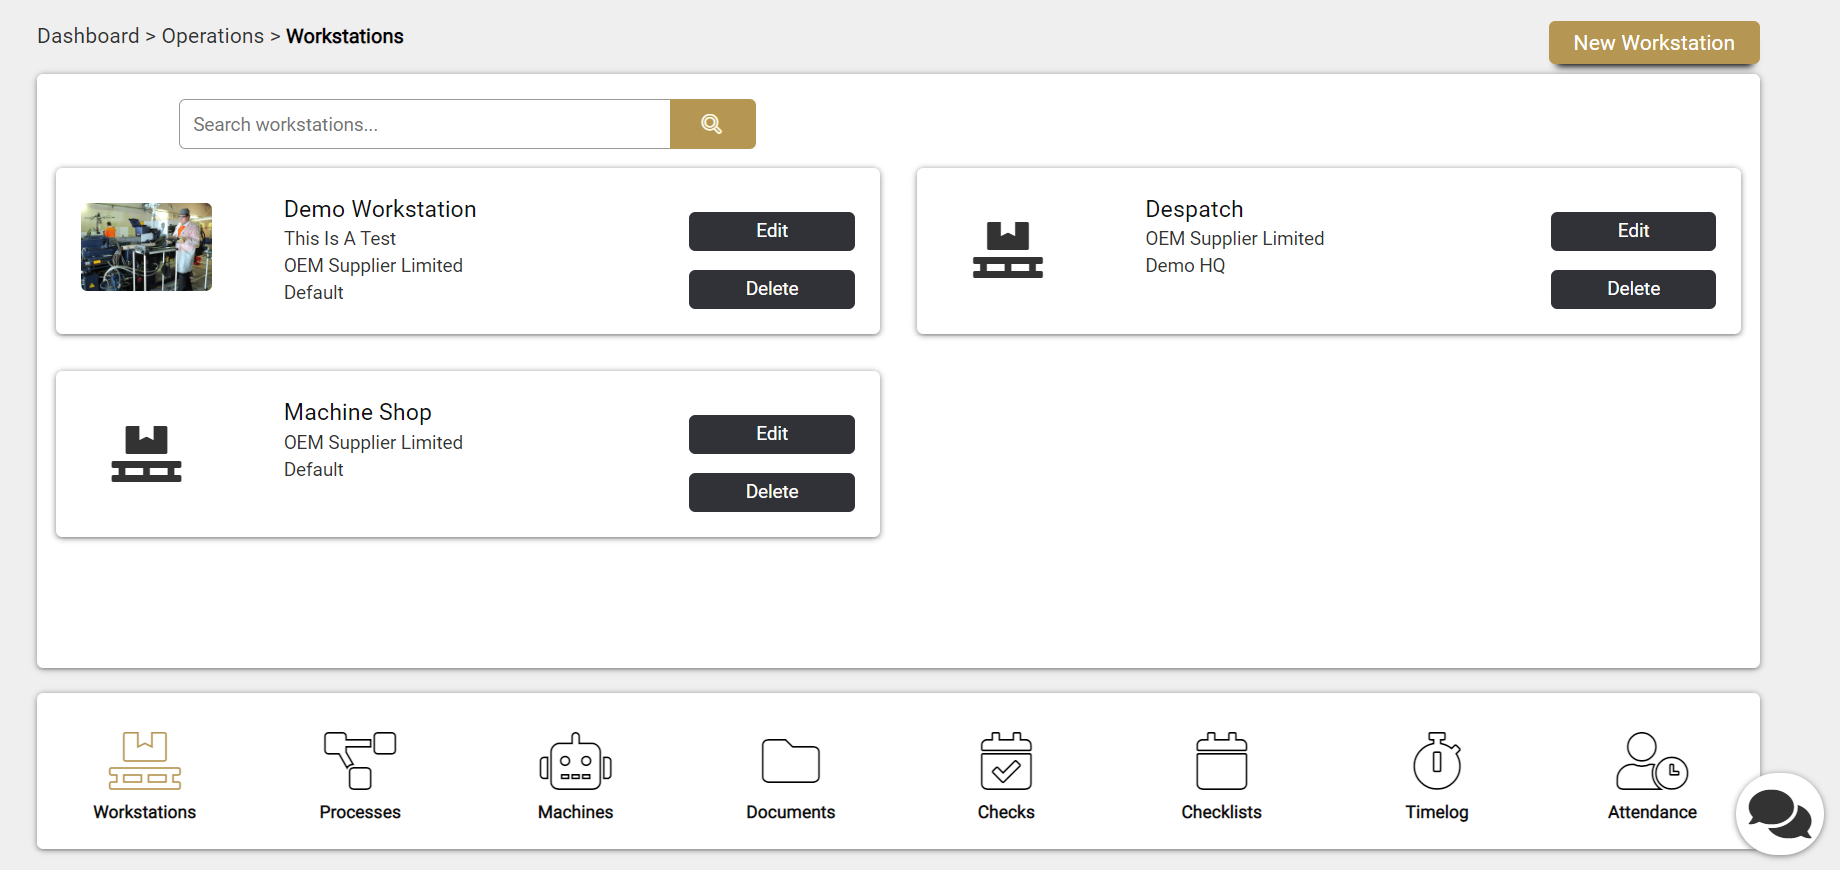
The Machines section is the third icon within the bottom Menu bar, represented by a Robot head. Once the Machines section is selected, you will see a list of the Machines you have created in the system so far. Simply select the black ‘Edit’ button of the Machine you wish to Edit, or alternatively select the gold ‘New Machine’ button in the top right-hand as shown in the screenshot below to create a New Machine.
Please Note: if no Machines have been created yet, the page will be blank until you create your first Machine.
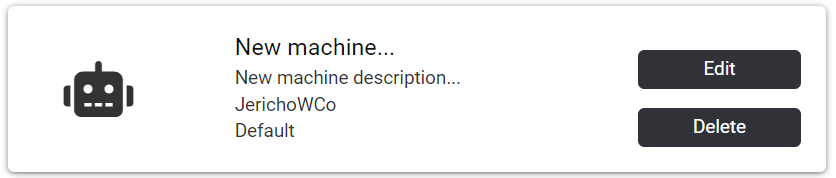
A new record will appear on clicking the gold ‘New Machine’ button named ‘New Machine…’ against your Company and Site as per the example below. To update the Machine information click on the black ‘Edit’ button as shown below. If you need to delete the Machine, click on the black ‘Delete’ button as shown below. The system will display an ‘Are you Sure’ message to prevent a Machine being deleted by accident.
Step 2 – Enter Machine Data #
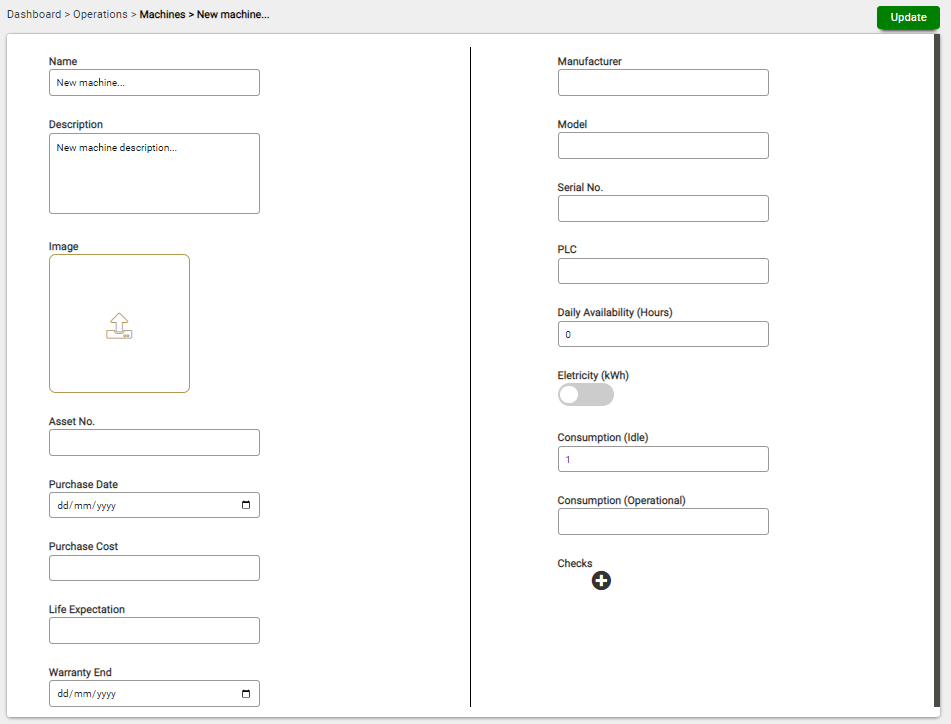
On pressing the black ‘Edit’ button, you will be taken to the Machine information screen as shown below. There are many information fields that can be completed, from basic information such as the Machine Name, Description and Image upload, to purchase and warranty information, to operational information such as Machine Daily Availability or running time for production planning, and Idle and Operational energy consumption to monitor energy usage for costing and CO2e calculations. To save the information select the green ‘Update’ button in the top right-hand as shown below:

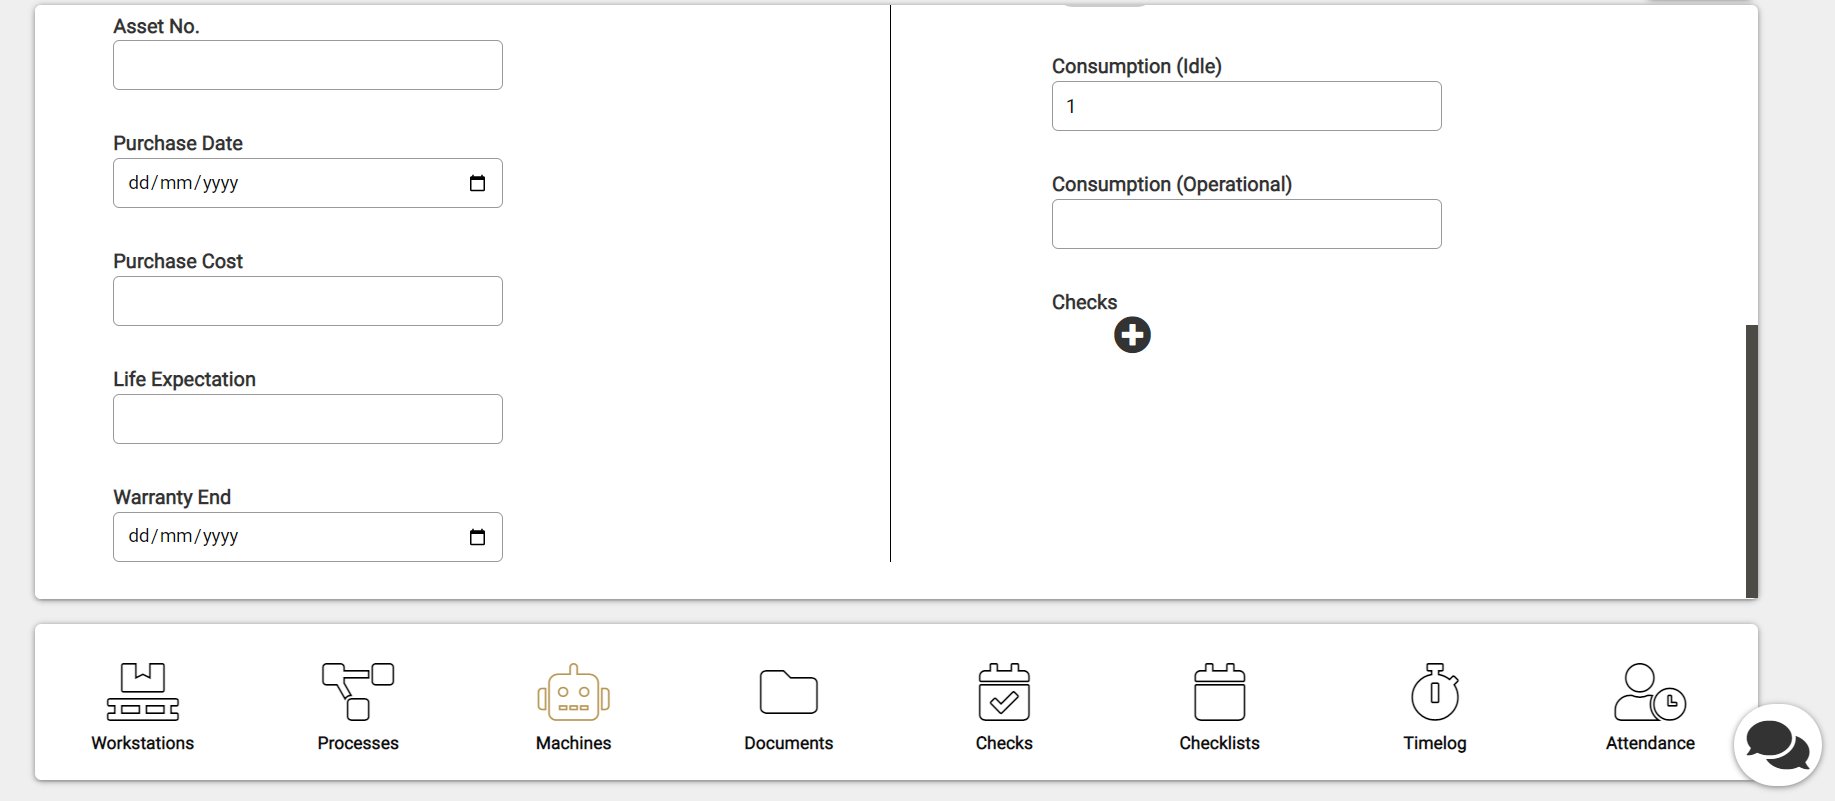
A Check can also be assigned to a Machine by pressing the ‘Plus’ icon under the ‘Checks’ area and typing the name of the Check you wish to assign, as shown in the example below. Please Note: a Check will only be found once you have created the Check in the Checklists section which is the fifth icon within the bottom Menu bar. A Check can be unassigned from a Machine by clicking the small red cross against the top right of the assigned Check as can be seen in the below screenshot:
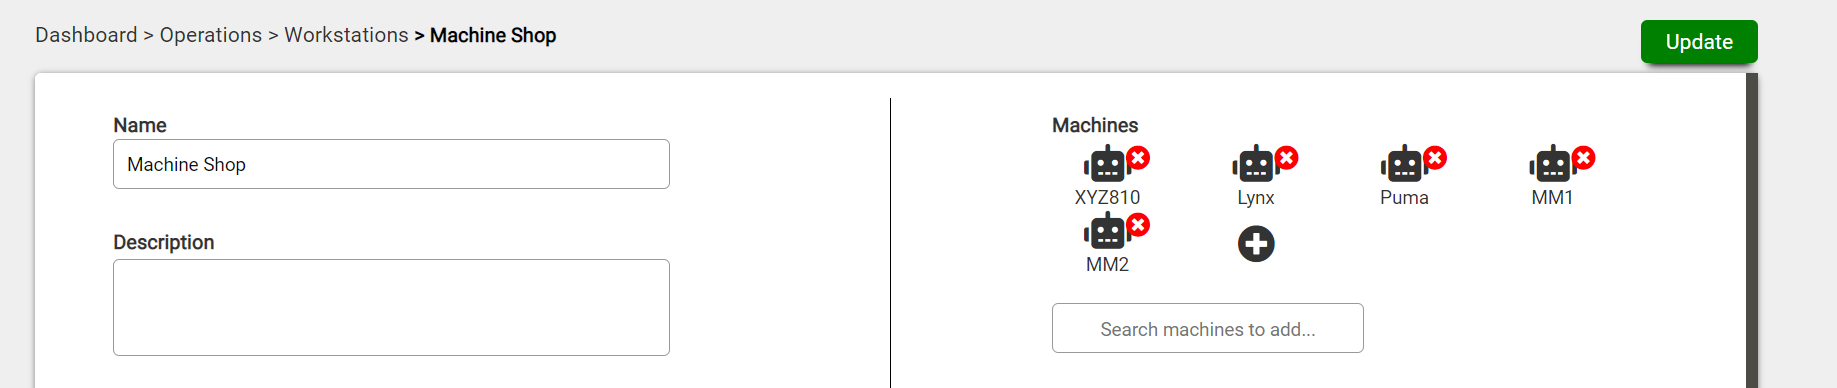
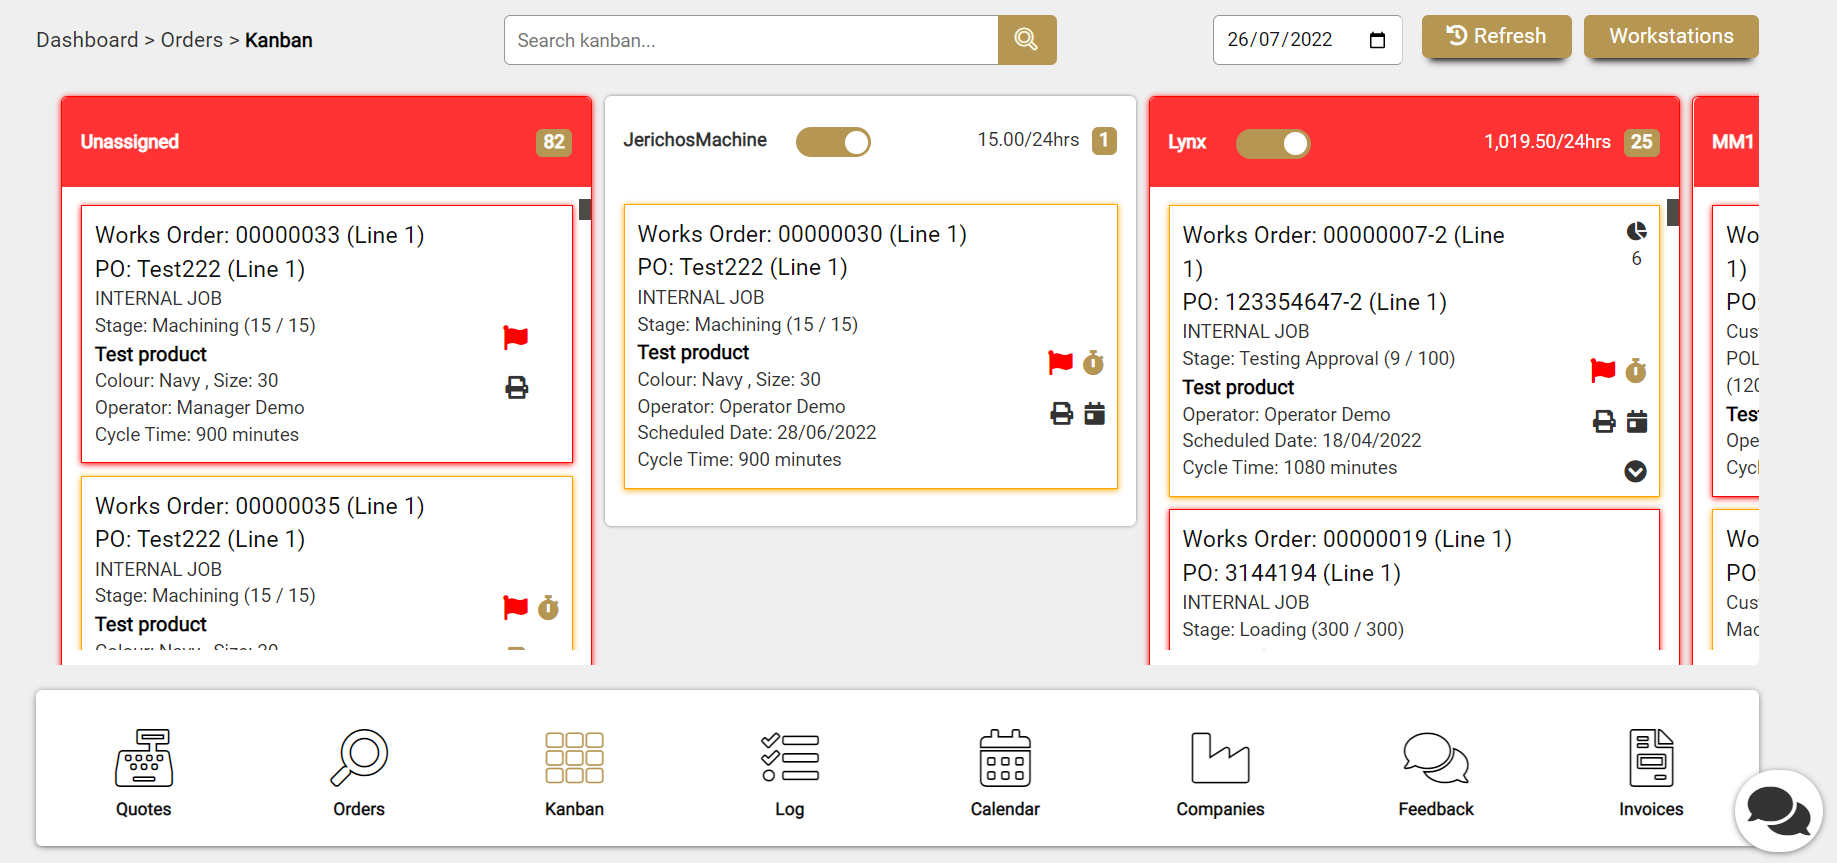
Step 3 – Assign Machine to Work Station #
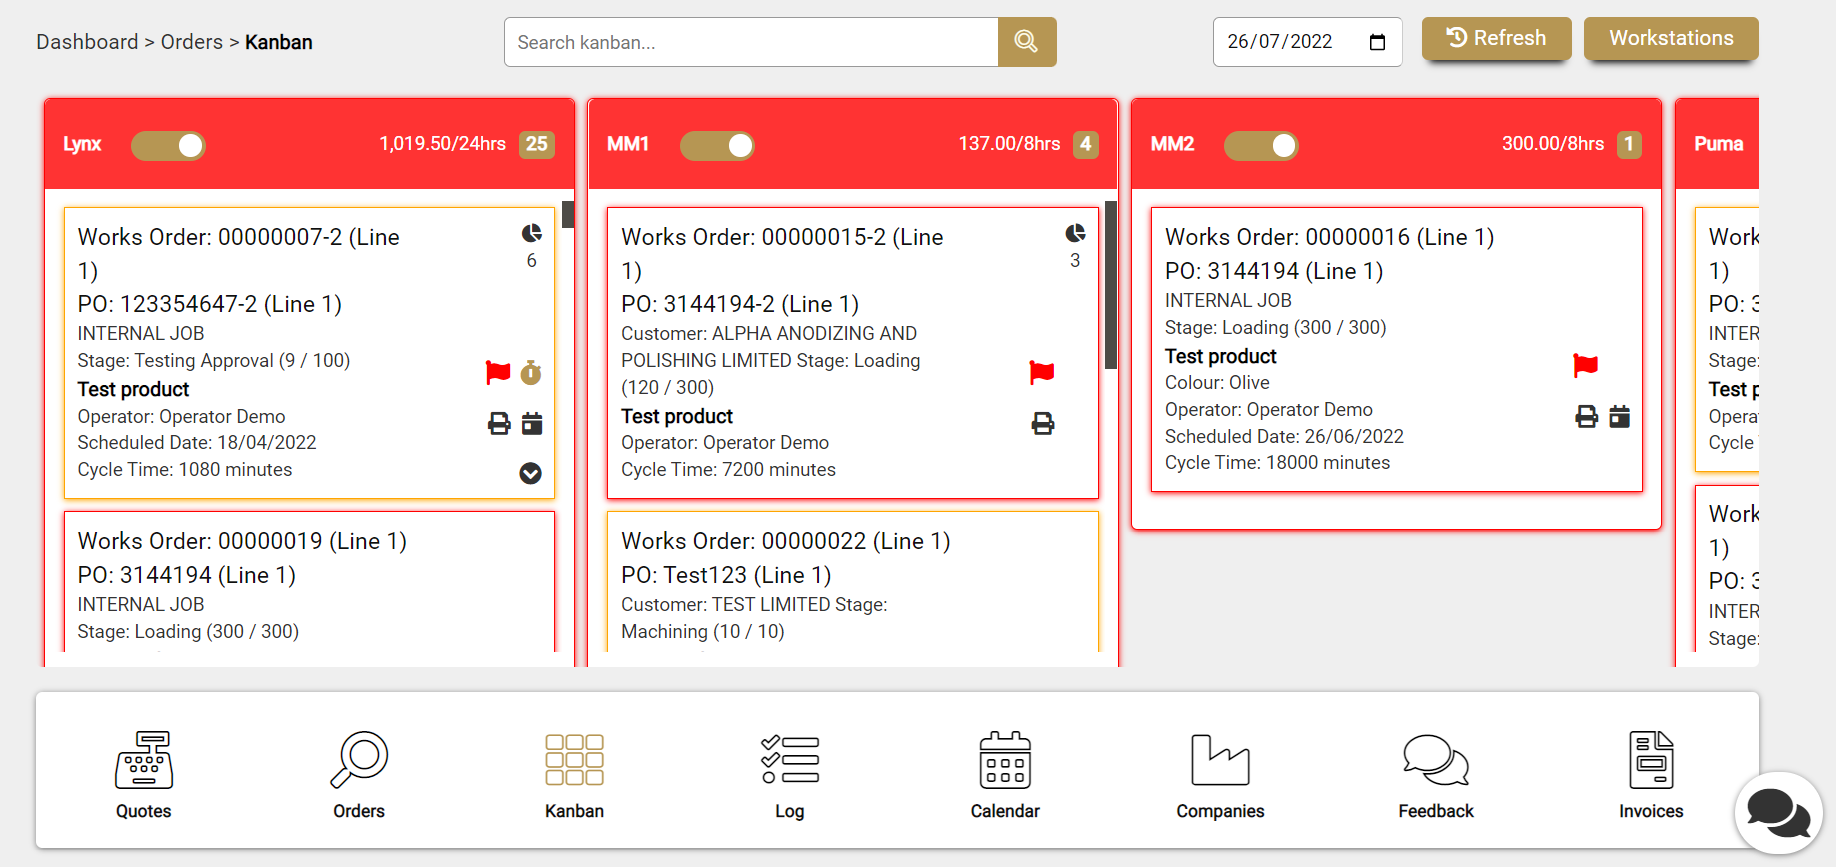
Step 4 – View Machine on Kanban #
We hope you found this Help Guide simple and easy to follow !
Kind Regards,
Glass Factory® Team.


